Some people have elaborate gingerbread constructions or mantle-top displays. I don’t have a mantle, but I do have a little three-foot potted pre-lit fake tree that I can obsess over. And yes, I’m also one of those people that waxes poetic about the smell of a real tree in the house. “Don’t you live in the country,” I can hear you asking–“can’t you just walk out the door and practically trip over a suitable evergreen?” Yes, I probably could. And someday, if I ever live in a home bigger than your average living room (aaah, sitting in the den, are you? So you have a den, then?) well, maybe then I’ll march out into the woods and bring home a big fat conifer. Until then, I’m working on finding small, cheap ways to decorate our little tree with heirlooms hand-made by my little monkey that coordinate with my holiday scheme. Mwoo-hoo-ha-ha!
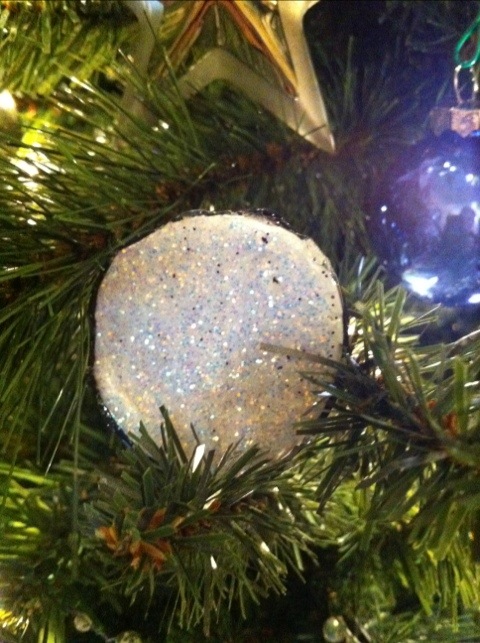
Here’s what I came up with:
Here’s an ornament made by my Munchkin, same way, different result:
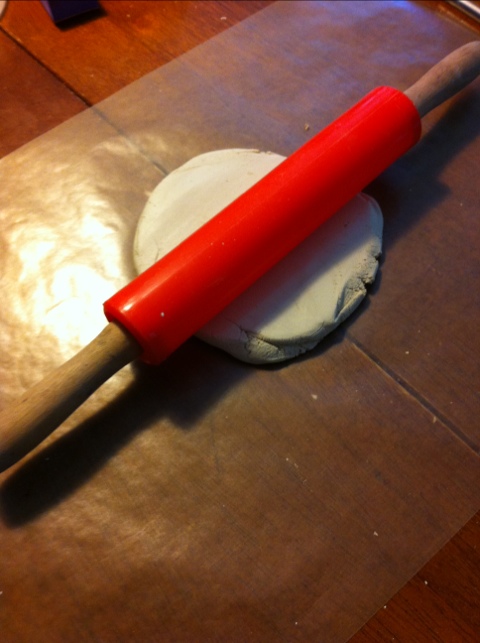
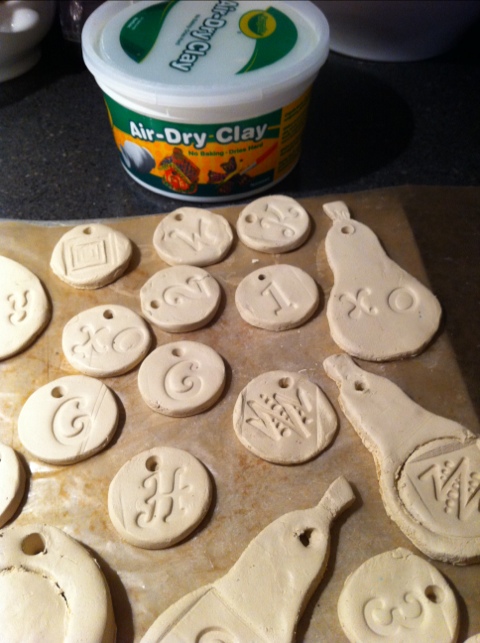
We started out with a bucket of air-dry white clay. I had seen an idea somewhere online about rolling this white clay out and cutting it with cookie-cutters to make ornaments, which I thought was genius–if clay falls off the tree and breaks, it’s not going to be a dangerous mess, just a regular mess. And it’s not plastic! Plastic just feels…plastic.
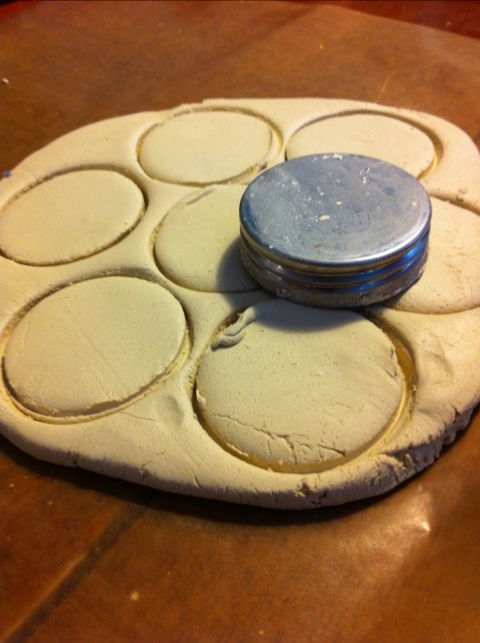
I don’t have special holiday cookie cutters, just a pear and an apple, so we used those, as well as the lid of a spice jar and the ring of a medium Ball jar lid for circles.
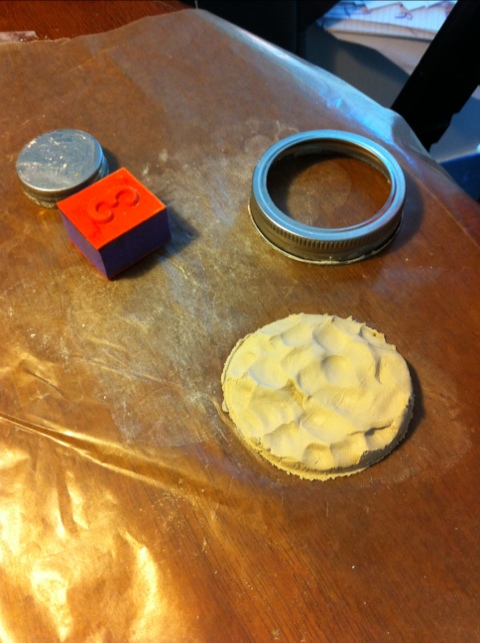
Once we had the shapes we liked, we used fingers and stamps to make impressions.
We did a bunch with our initials stamped in them, although Helen really liked the zigzag and square designs.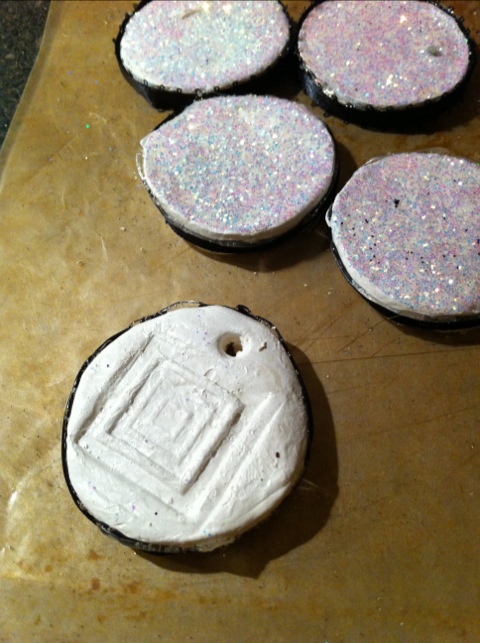
It took about three days for them to dry fully before we could paint them white with acrylics. Once all that had a chance to dry, we painted the backsides with glue using Helen’s kid paint brush, then dipped them in glitter. I chose a finer grade of glitter (similar to the Martha Stewart-style glitters you see in the craft stores) and filled a small paper plate so Helen could do most of the dipping.
I thought they still needed a little something, so I used a hot glue gun to finish the edges with ribbon. The scale of the circles cut with the spice jar, in particular, is perfect on our little tree.

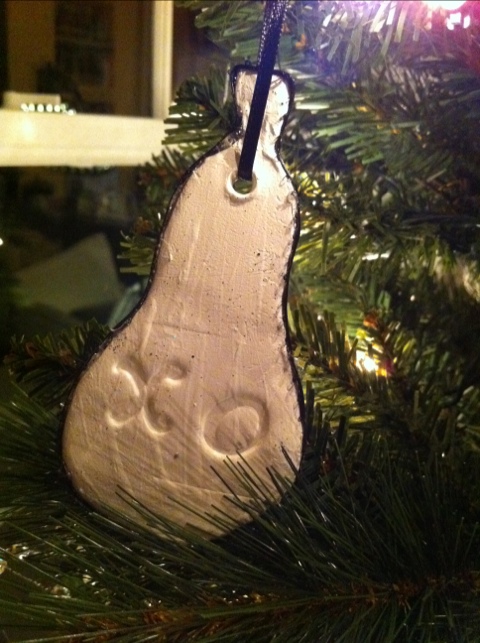
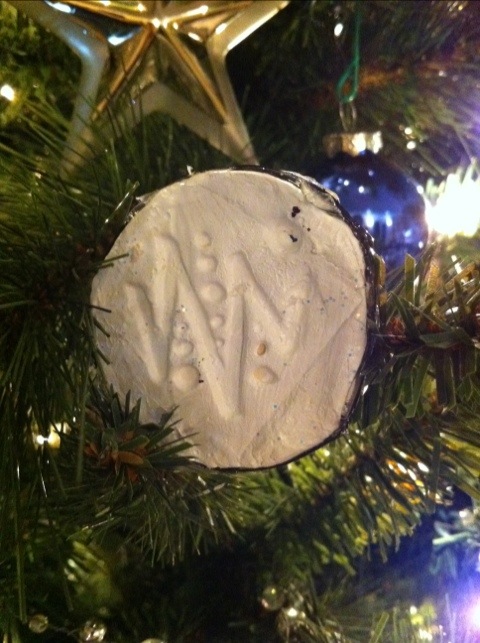
Some beautiful decorations that will become hand crafted heirlooms!
Love,
Gene